When it comes to improving the look and functionality of driveways, parking lots, or any paved surfaces, asphalt installation is a popular choice due to its durability and smooth appeal. Whether you are a homeowner or a business owner, understanding the essential steps surrounding asphalt installation can help ensure a successful project. Stick to the following steps to ensure the ideal result.
Step 1: Breaking Down and Cleaning the Old Surface
The first step in the asphalt installation process calls for a little bit of mess, breaking up the old pavement, whether it’s asphalt, concrete, or pavers, and removing debris. Heavy machinery like jackhammers, forklifts, and dump trucks are typically used to handle this task efficiently. An effective removal of the old surface is crucial as it sets the stage for a smooth and durable new asphalt layer. Once the old pavement is broken up, the debris needs to be meticulously cleared from the site, loaded, and transported to disposal or recycling facilities.
Step 2: Site Assessment and Proper Grading of Drainage
Water drainage is critical in preventing future damage to the asphalt. Without a decent grading, water can accumulate on the surface, leading to cracks, potholes, and premature deterioration. During this phase, the ground is leveled and sloped appropriately to direct water away from the pavement.
Step 3: Establishing a Solid Sub-base for Asphalt Installation
The sub-base is the foundation of a durable asphalt surface. Preparing the sub-base involves compacting the soil and adding a layer of aggregate material. This layer provides a stable foundation and helps with load distribution. Proper compaction of the sub-base is essential to prevent settling and shifting, which can lead to surface damage. Ensuring the sub-base is solid and stable is a key step in the asphalt installation process.

Step 4: Applying the Binder Layer
After the sub-base is prepared, the next step is to apply the binder layer. This layer consists of a mixture of aggregate and oil, providing additional strength and durability to the pavement. The binder layer acts as a middle layer between the sub-base and the top asphalt layer, enhancing the overall structure’s integrity. It also helps to further solidify the foundation, ensuring that the asphalt surface can withstand heavy loads and traffic. Before laying the binder layer, the surface is thoroughly cleaned to remove any dust or debris that might prevent adhesion. Precision is key in this step, as the binder must be applied evenly to avoid creating weak points. The binder layer is then compacted to ensure it is densely packed and free of air pockets, which could compromise the stability of the asphalt. Moreover, the thickness of the binder layer is carefully measured to align with project specifications, ensuring optimal performance and longevity of the asphalt pavement. This meticulous preparation and application of the binder layer play a crucial role in the overall success of the asphalt installation process.
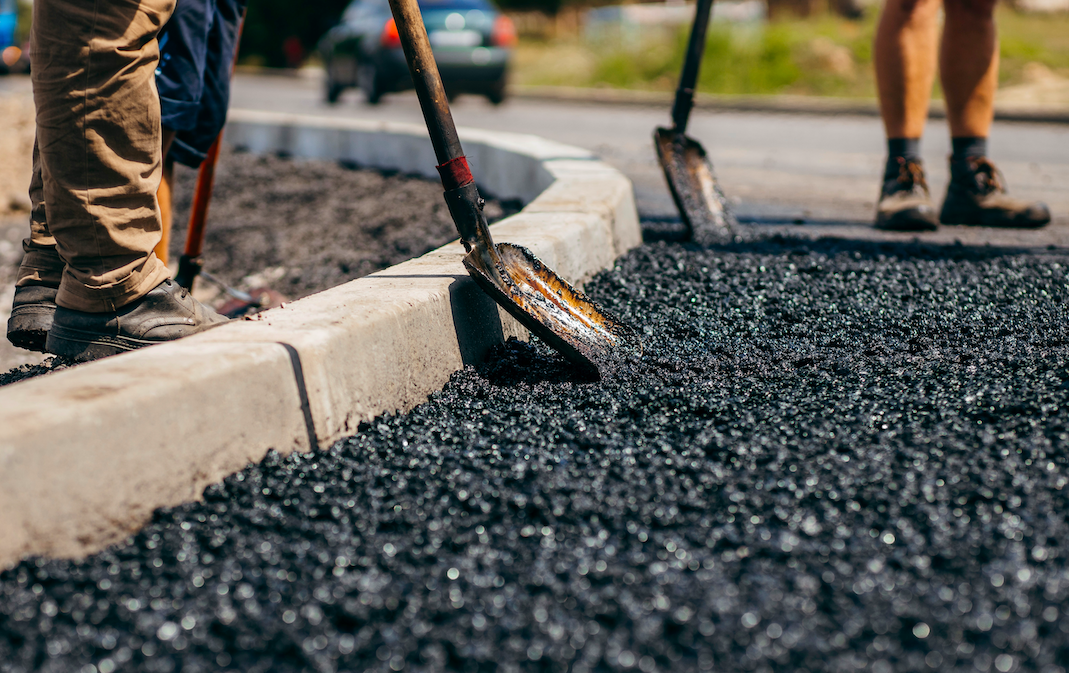
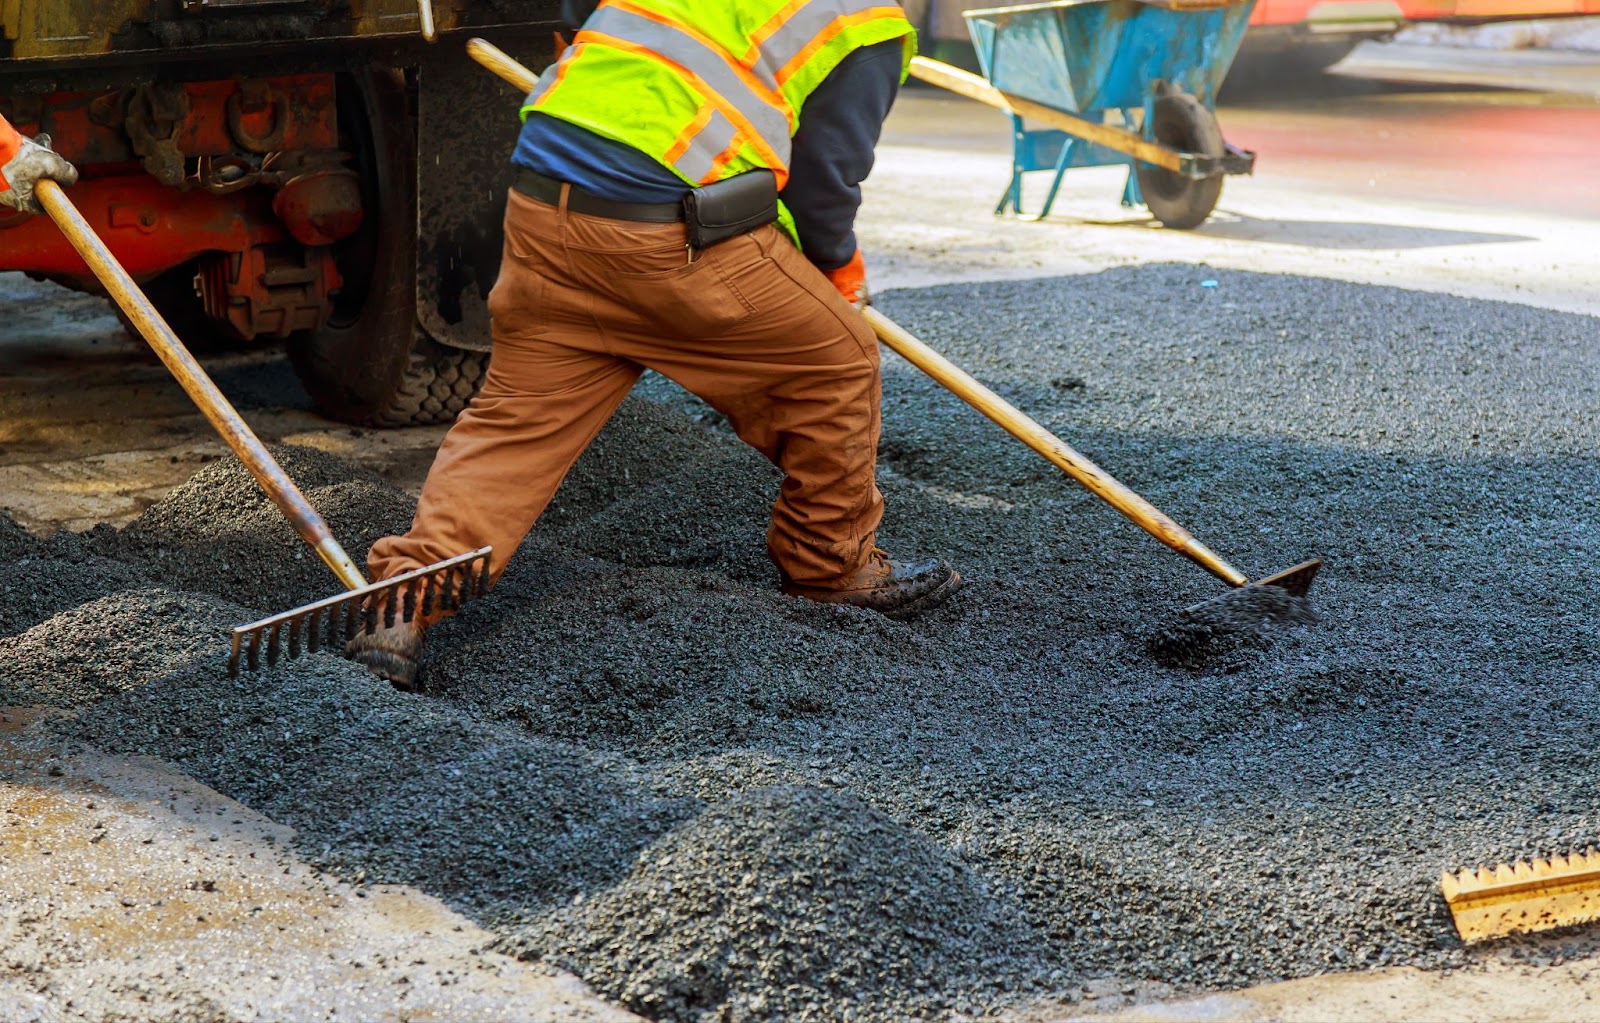
Step 5: The Asphalt Installation Process
The actual asphalt installation entails laying the top layer of asphalt. This layer is a mixture of small aggregate, sand, and oil, providing a smooth and appealing finish. The asphalt is poured and spread evenly across the surface, then compacted using a heavy roller to ensure a uniform and tightly packed surface. During this phase, temperature control is critical; the asphalt must be at the proper temperature to achieve optimal compaction and adhesion. Additionally, experienced professionals continuously monitor the thickness and evenness of the asphalt layer to prevent weak spots and ensure a consistent surface.
Step 6: Finishing Touches – Sealing Joints
The joints prevent water from seeping into the base and causing damage. It also improves the appearance of the pavement by giving it a clean, finished look. Applying a liquid asphalt or sealant along the edges and joints of the pavement will provide an additional layer of protection against weather changes.
Need Help? Contact a Professional Paving Company
Asphalt installation is a complex process that requires specialized equipment and expertise. While it is possible to handle small projects on your own, larger projects or those requiring precision are best left to professionals. A professional paving company has the experience and tools necessary to ensure a high-quality, durable asphalt surface. They can provide guidance throughout the project, from initial assessment to the final finishing touches, ensuring that it meets the highest standards.
Each step plays a vital role in ensuring the durability and longevity of the asphalt surface. By understanding and following these steps, and seeking professional guidance when needed, you can enjoy a smooth, attractive, and long-lasting asphalt surface that enhances the value and functionality of your property.